INTRO
As usual I found myself confronted with a bewildering amount of options, methods and information, often conflicting information, about what to use and how to go about using it. It is as if almost anything that can be squeezed into the pores is used for grain filling from commercially produced wood fillers, to various glues and egg whites. And then there is pumice. I chose to go with this for no other reason than that was what Milburn's tutorial recommended and it somehow seemed to belong to the French polishing technique. But while some report I read tooted it as an easy, straight forward, old and simple technique, others exclaimed it to be a difficult, cumbersome and insufficient method.
MAKING MUNECAS
But before any grain filling could begin I needed to make some munecas to pad it on with. Milburn's tutorial has a detailed description of how to make a regular one and that is what I followed. Actually, they list several methods but I went with the first one that calls for a cotton t-shirt material cover and a wool core.
I already had the t-shirt material but need to make the core. The Milburns suggest using either wool or cotton for this. As wool has a better ability to absorb and hold moisture I went with that. As per their description I cut out three disc from an old pair of woolen socks, one 1¼", one ¾" and one ½" (32mm, 19mm and 12mm).
In the tutorial they suggest sewing the three discs together but I didn't really see the point in that and just stacked them in the middle of a 4x4" cotton square, neatly folding it around the discs and wound a rubber band around it, creating a little round pad with a nice little cotton handle sticking out above the pad.
TESTING ON SCRAP
As I had no idea how this was going to work I set out to do some test on scrap before starting on the real deal, and I'm very glad I did. As it appeared this pumicing business was quite a different kettle of fish to what I had expected.
The first thing I found out is that "clearing the pumice", a process of saturating the pumice with alcohol, does not make the pumice go clear. Initially I thought that it did, as the term suggests, but it doesn't. It stays gray like wet sand. In fact, it is very fine wet sand.
Secondly, it is not the actual pumice that is meant to fill the grain. Instead it is a slurry of wood and shellac (and inevitably a little bit of pumice), created by the abrasive nature of rubbing the pumiced pad on the wood that is meant to be the filler. If only pumice goes in it will show up as gray streaks in the pores. It looks horrible, unless, of course, you like the look of gray streaks in your wood.
The trick, I discovered, was to use very little little pumice and get the muneca loaded with the right amount of alcohol to dissolve the shellac already on the instrument. If too much pumice was used, the slurry would look gray, if too little was used it wouldn't create the abrasive action needed to get the enough wood in the slurry in the first place. If too little alcohol was used the slurry would look and act like pencil eraser shaving and be too hard to rub into the pores. If too much alcohol was loaded into the muneca, the rubbing action would simply dissolve and take off the shellac that was already on the wood and you would be back to square one. But with the right amount of both a nice dark slurry was created that was easily distributed around the surface and into the pores.
With this experience in the bag I was ready to start the filling.
GRAIN FILLING
The Milburns suggest using FFF pumice for the grain filling (actually in their other, newer tutorial they have switched to FFFF). I wasn't able to find FFF pumice anywhere and ended up buying 1lb FF and 1lb of FFFF instead. Once I realized the pumice was used as an abrasive I opted to go with the coarser grade, as Eugene Clark suggests.
The Milburns also recommend using a salt and pepper shaker to sprinkle the pumice onto a piece of paper and dipping the wet muneca into it to load it. But while this probably works fine I found myself just using my fingertip, dipping it into a small bowl of pumice and rubbing it on the muneca. This way I felt it was easier to see and control how much pumice went on.
With a freshly loaded muneca and a bit of pumice on it, I started rubbing the upper bout of the back using a small circular action. Initially nothing really happened but after a little while the shellac softened and the slurry started to build. Once it was there it quickly went into the pores and the muneca was reloaded ready for a new area.
Once I got the hang of it, the work progressed rather swiftly. After the back was done I went onto the sides and then the neck. Naturally the filling wasn't completely homogeneous, in a few places the pumice was a little too prominent for my liking while others areas showed some open pores and some had excess slurry left on the surface. But a second filling session took care of most of these flaws and altogether I was fairly pleased with the end results; a wonderfully smooth and silky surface. No shellac and oil was used during this process, just alcohol.
PUMICING THE SOUNDBOARD
Milburn's tutorial states that it is not necessary to pumice the soundboard. However, in Somogyi's book he mentions that Eugene Clark feels that the soundboard too will benefit from a session of pumicing. I do have a lot of respect for Ervin Somogyi and it appears that most of my sources lead to Eugene Clark. And so I decided to give it a go with the latter.
But in retrospect I must admit I found it pointless. In fact I think it did more damage than good as I ended up getting some pale slurry from the spruce rubbed into the darker woods in the rosette and purflings. It isn't too noticeable, but still. I don't know if I did something wrong or I altogether missed the point of it, but as of now I don't really get why one should pumice the soundboard.
MAKING A DETAIL MUNECAS
This is a very neat trick I learned from Somogyi's book. I found this particularly handy for grain filling all the fiddly areas such as the head slots and the crest. Here the round muneca, though small in size, still seamed a bit to big to squeeze into all the nook and crannies.
Like the round pad the detail muneca has a square cover but instead of making the center with three woolen disc I made it with a single flat piece of wool slightly smaller in size than the cover and one portion of a corner cut off and laid on top of the cover. The corner of the cover where the center is missing is then folded on top of the center creating a kind of flattened pentagon.
From the center of that fold, roll each side up towards the middle creating an apex at the point where the two sides were rolled from. Ah, look at the photos and you'll see what I mean.
LAST THOUGHT ON GRAIN FILLING WITH PUMICE
In hindsight I'm really glad I went though all the trouble to investigate how to do this. I feel that once I got into the swing of it, it got easier and easier and made more and more sense. Of course there is always room for improvements but I feel it was a good start.
However, it did also make me wonder how applicable this method is when it comes to grain filling very ornate instruments. One thing pumicing the soundboard taught me was that once you start mixing dark and pale woods, trouble is knocking on the door. My guess is that you would probably be OK with say having Maple bindings on a Rosewood body as the Maple isn't porous. But I not so sure what I would do if I had a Cocobolo back with a sapwood center or a Rosewood back with say Ash binding, not to mention very intricate herringbone patterns and other ornate purfling and binding schemes.
I wonder what people did before the advent of epoxies and other modern stuff. I have heard some recommend hide glue, but if that is the case why not stick to hide glue in the first place. I don't really know, but I'm sure there is a perfectly good answer to this out there.
CUTTING WOOL DISCS FOR MUNECA

UNFOLDED MUNECA


PUMICE SOAKED IN ALCOHOL, SHELLAC AND OIL

TEST - BUBINGA SCRAP WITH THREE SEAL COATS

TEST - GRAINFILLING WITH TOO MUCH PUMICE

TEST - GRAINFILLING WITH TOO LITTLE ALCOHOL

TEST - GRAIN FILLING WITH MORE ALCOHOL

TEST - SAME PIECE AFTER TWO BODY SESSION


TEST - BUBINGA SCRAP WITH THREE SEAL COATS

TEST - GRAINFILLING WITH TOO MUCH PUMICE

TEST - GRAINFILLING WITH TOO LITTLE ALCOHOL
TEST - GRAIN FILLING WITH MORE ALCOHOL

TEST - SAME PIECE AFTER TWO BODY SESSION

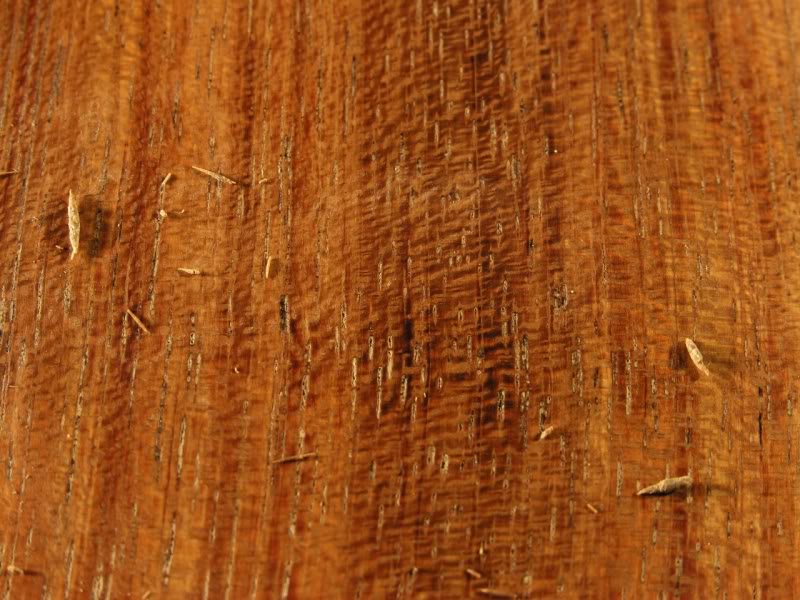
PUMICE

GRAIN FILLING BACK

GRAIN FILLING SIDES

GRAIN FILLING NECK

GRAING FILLING HEEL

FOLDING A DETAIL MUNECA - I

FOLDING A DETAIL MUNECA - II

FOLDING A DETAIL MUNECA - III

FOLDING A DETAIL MUNECA - VI

FOLDING A DETAIL MUNECA - V

GRAIN FILLING NECK/SIDE JOINT

GRAIN FILLING HEAD

GRAIN FILLING HEAD CREST

GRAIN FILLING STRING SLOTS

GRAIN FILLING THROAT


GRAIN FILLING BACK


GRAIN FILLING NECK

GRAING FILLING HEEL

FOLDING A DETAIL MUNECA - I

FOLDING A DETAIL MUNECA - II

FOLDING A DETAIL MUNECA - III

FOLDING A DETAIL MUNECA - VI

FOLDING A DETAIL MUNECA - V

GRAIN FILLING NECK/SIDE JOINT

GRAIN FILLING HEAD

GRAIN FILLING HEAD CREST

GRAIN FILLING STRING SLOTS

GRAIN FILLING THROAT


